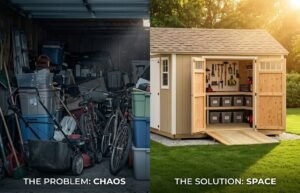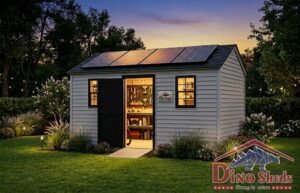
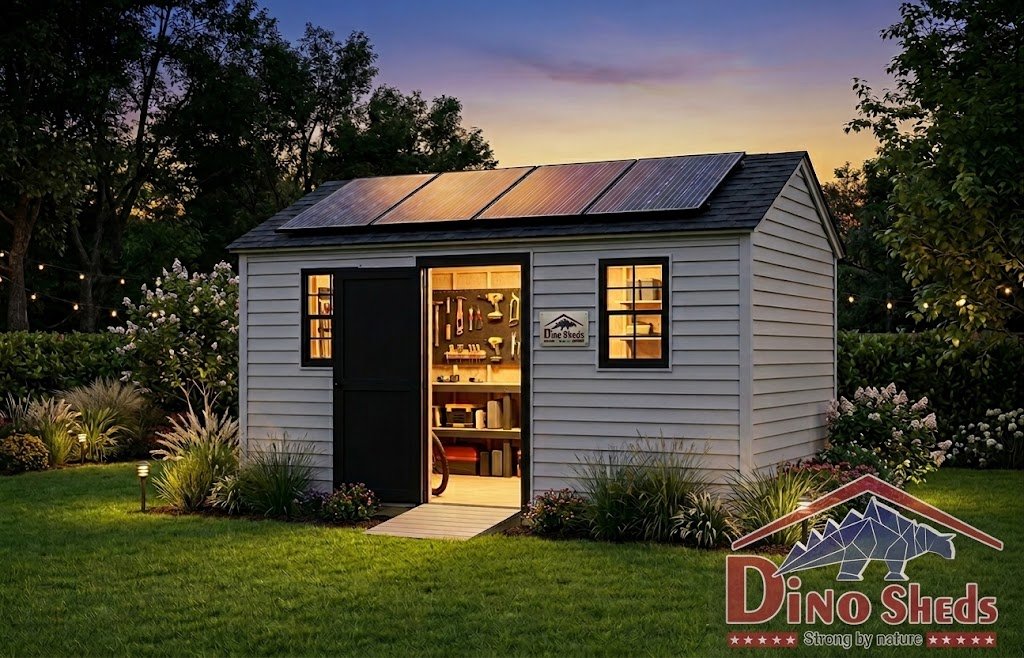
Adding a reliable lighting and power system turns any basic outdoor structure into a fully functional workspace, home office, or organized storage hub. However, bringing traditional grid electricity to your yard often involves expensive permits, complex underground wiring, and disrupted landscaping. Opting for solar powered shed lighting and off-grid battery setups gives you instant, clean energy without the hassle of digging trenches across your lawn.
Whether you need simple overhead LEDs to locate equipment at night or a robust solar setup to keep power tool batteries charged, modern off-grid solutions offer flexible, cost-effective performance. Designing your setup around high-quality sheds in massachusetts ensures your structure stands up to harsh New England weather while supporting all your custom solar hardware.
⚡ Key Takeaway: Off-grid solar systems eliminate the need for costly electrical trenching, providing free, eco-friendly lighting and power for your outdoor shed in a single afternoon DIY project.
In this guide, we will explore the top solar power options for backyard sheds, compare off-grid DIY kits against traditional electrical wiring, and walk you through a step-by-step installation process to get your shed powered efficiently.
Why Choose Solar Power for Your Outdoor Shed?
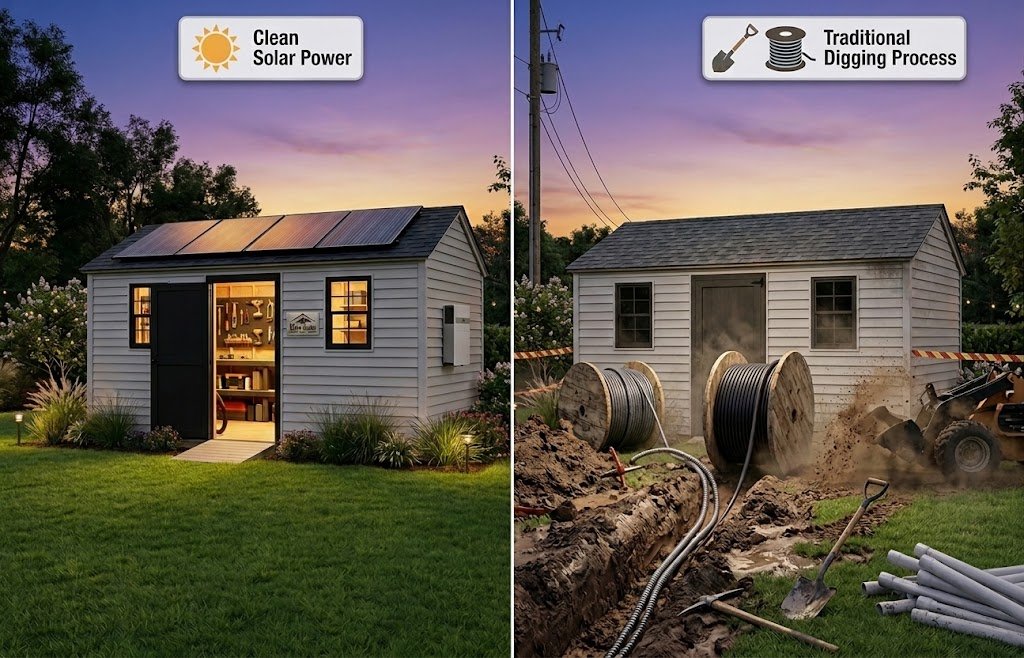
Bringing electricity to an outdoor building is often one of the biggest challenges homeowners face after installing a new structure. Traditional grid connections require digging deep trenches across your lawn, laying rigid conduit, and hiring a licensed electrician to handle panel connections. Opting for solar powered shed lighting completely eliminates these costly, invasive hurdles by harnessing clean energy directly from your roof.
Going off-grid with solar provides a flexible, cost-effective alternative that works anywhere on your property. Whether you need simple overhead illumination to find tools at night or a reliable battery setup to charge power tools, modern solar solutions deliver instant functionality without altering your yard’s landscaping.
Pro Tip: For homeowners adding secondary storage or workshops with custom structures, solar power avoids complex local permitting for underground trenching while standing up easily to harsh seasonal shifts.
Here are the key advantages of choosing solar over traditional grid power for your backyard structure:
- No Trenching or Cable Wiring: Avoid tearing up your lawn, gardens, or paved pathways to bury heavy electrical lines.
- Zero Monthly Electricity Costs: Solar systems run entirely on free energy from the sun, keeping your utility bills unaffected.
- Quick DIY Installation: Most standalone solar lights and beginner kits can be mounted in under two hours using basic hand tools.
- Reliable Off-Grid Power: Your shed lighting and tool charging stay fully operational even during neighborhood power outages.
- Eco-Friendly & Low Maintenance: Durable photovoltaic panels require minimal upkeep while providing clean, sustainable lighting for years.
Key Off-Grid Solar Setup Options for Backyard Sheds
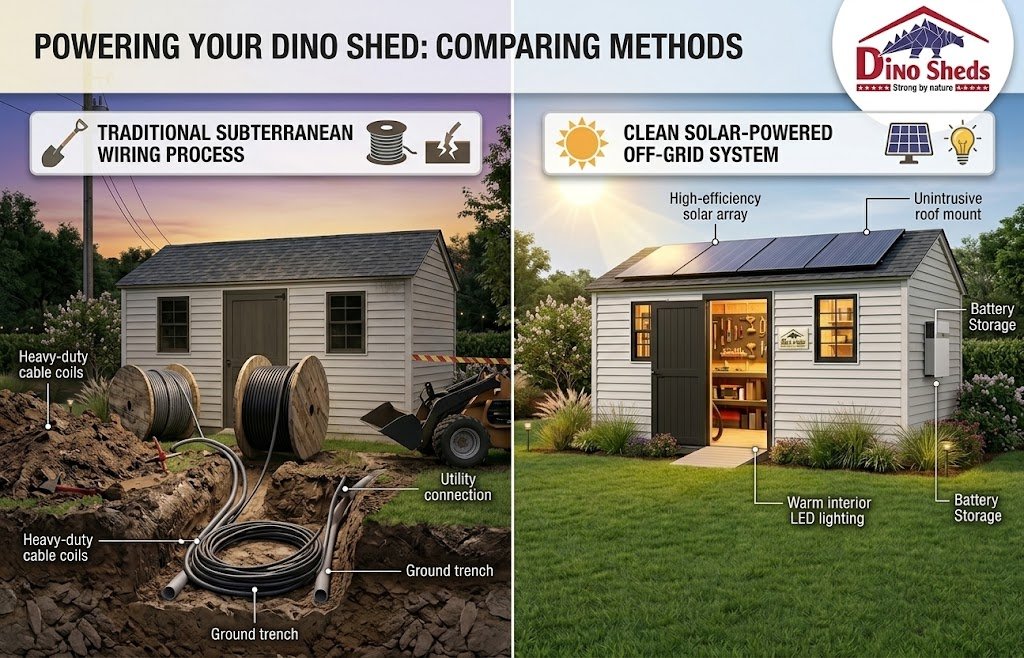
Selecting the right solar setup for your outdoor structure depends entirely on how you plan to use the space. Simple storage needs require far less energy than a fully equipped home workshop or creative studio. Modern off-grid solar components are highly modular, making it easy to tailor an installation to your specific power requirements and budget.
Upgrading your power setup is also the perfect opportunity to consider high-quality shed accessories in massachusetts, such as heavy-duty panel mounting brackets, weather-sealed cable pass-throughs, and exterior motion-sensor lights to maximize usability.
1. Standalone Solar Shed Lights (Quick & Budget-Friendly)
Standalone solar lights are the fastest, most cost-effective way to add illumination to an outdoor structure without touching electrical wiring. These self-contained units pair a compact exterior photovoltaic panel with an interior LED light fixture, drawing power from a built-in rechargeable lithium-ion battery. Because the components are pre-wired, installation requires nothing more than mounting the panel on your roof or sunny exterior wall and running a small cable inside to the light unit.
| Feature | Specifications & Details |
|---|---|
| Primary Function | Overhead & accent illumination (No power tool charging) |
| Installation Time | 15 to 30 minutes (DIY-friendly, plug-and-play) |
| Typical Light Output | 200 to 1,000 Lumens (Warm to cool white LED) |
| Activation Methods | Motion detection, remote control, or manual pull chain |
| Best Application | Storage sheds, equipment closets, and small backyard structures |
2. Complete Solar Panel Kits with Battery Storage
For homeowners who use their outdoor space as an active workshop, craft studio, or heavy-duty storage hub, standalone lights often fall short. A complete off-grid solar panel kit expands your capabilities by combining a high-efficiency roof panel (typically 100W to 200W) with a dedicated charge controller, a deep-cycle AGM or Lithium (LiFePO4) battery, and a power inverter. This setup converts solar energy into standard AC or 12V DC power, allowing you to run multiple high-efficiency LED strip lights while keeping power tool batteries fully charged.
🔋 High-Performance Advantage:
Unlike basic solar lights that run out of energy after a few hours, a battery-backed kit stores excess power generated during peak daylight hours. This gives you continuous, reliable electricity on cloudy days and late into the night without draining your energy reserve.
3. Portable Power Stations paired with Foldable Panels
If you want the electrical capacity of a full battery system without the hassle of mounting rigid panels, running interior conduit, or setting up complex wiring, a portable power station paired with foldable solar panels offers the ultimate plug-and-play solution. These all-in-one generator units integrate a high-capacity lithium battery, a sophisticated charge controller, and a multi-port power inverter into a single compact box that can be placed anywhere on your workbench.
🔌 Unmatched Versatility & Zero Permanent Installation
The primary benefit of a portable power station is its total mobility. You can run indoor LED lighting strips and power tool chargers in your custom sheds during the week, then easily unplug the unit and bring it along for weekend camping trips or emergency home backup during power outages.
Solar Power vs. Trenching Underground Electrical Wiring
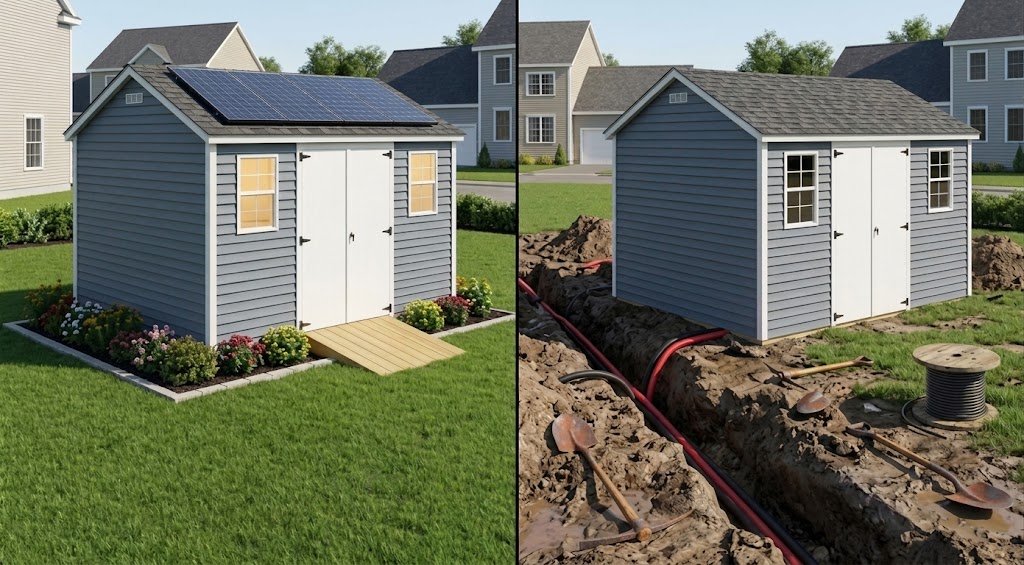
When bringing electricity to an outdoor structure, homeowners face a fundamental choice: install an off-grid solar setup or connect directly to the main home grid via underground trenching. While traditional electrical wiring offers unlimited power, the invasive installation process, high labor costs, and municipal permit requirements make it a heavy investment for a backyard building.
By contrast, harnessing solar energy allows you to bypass structural disruption entirely while achieving complete power independence for lighting and small tool charging.
Head-to-Head Comparison: Solar vs. Grid Trenching
Off-Grid DIY Solar Setup
- Upfront Cost: $150 – $600 total cost
- Lawn Impact: Zero digging or yard damage
- Installation: 1 to 3 hours (DIY-friendly)
- Permits: Usually none required
- Monthly Bill: $0 (100% free energy)
Grid Wiring (Trenching)
- Upfront Cost: $1,500 – $4,000+ (Electrician + excavation)
- Lawn Impact: Deep trenches across grass/pathways
- Installation: 2 to 5 days of contractor labor
- Permits: Mandatory municipal inspections
- Monthly Bill: Continuous utility grid usage
For most residential storage units and basic workshops, solar energy delivers more than enough power without the high price tag and landscape repair costs associated with traditional electrical installations.
Step-by-Step Guide to Installing Solar Shed Lighting
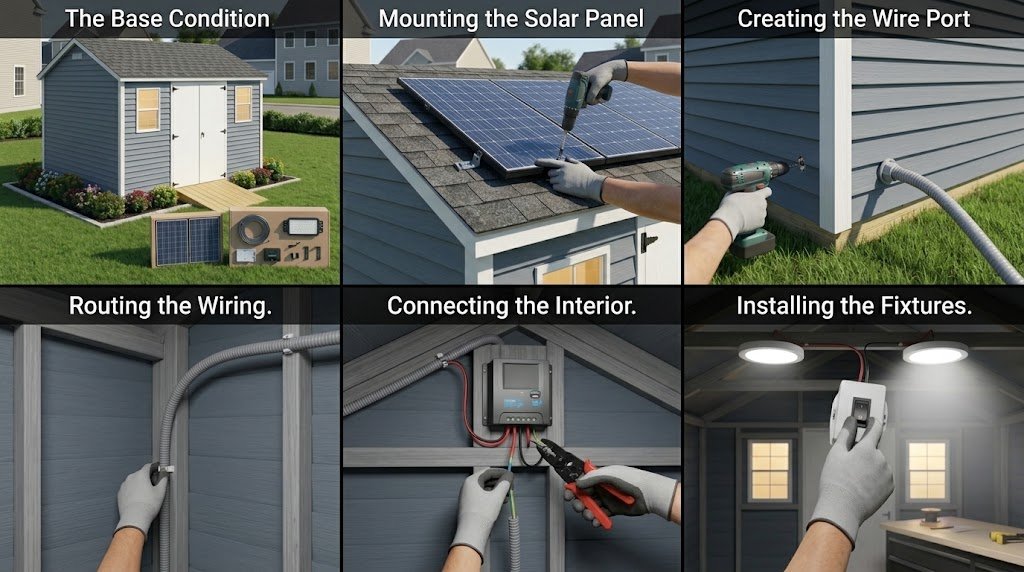
Installing solar power in your outdoor building is an easy DIY project you can finish in a single afternoon. Following a clear sequence ensures your photovoltaic panels collect maximum sunlight while keeping indoor wiring neat and weather-sealed.
Calculate Your Power Requirements
Determine your daily wattage needs. Basic LED illumination requires a 10W–20W panel, while running battery chargers alongside lighting calls for a 100W panel with a deep-cycle battery setup.
Mount the Panel for Maximum Sun Exposure
Attach mounting brackets to your roof shingles facing south or unshaded south-west. Leave a slight air gap underneath the panel to prevent heat buildup during summer.
Route Cable Connections & Mount Fixtures
Drill a small entry hole high on the wall, seal it with a rubber grommet or silicone, and run the cable inside. Fasten your LED light fixtures along rafters or wall studs.
Connect Controller, Battery, & Test System
Connect the charge controller to your battery first so it detects system voltage, then wire in the solar panel. Flip the master switch and test your indoor lighting.
Step 1: Calculate Your Power Requirements
Before purchasing hardware, determine your daily energy needs to avoid undersizing your battery or overpaying for unnecessary capacity. Multiply the total wattage of all LED fixtures, motion sensors, and tool chargers by the estimated hours each will run daily. For basic overhead illumination, a 10W to 20W solar panel paired with an internal battery is sufficient. However, powering multiple work lights and charging cordless tool batteries requires at least a 100W panel connected to a 50Ah to 100Ah deep-cycle AGM or Lithium battery setup.
Step 2: Position and Mount the Solar Panel for Maximum Sun Exposure
Mounting location directly impacts your system’s energy output. Position your photovoltaic panel on a roof section or high exterior wall facing south (or equator-facing) to capture peak sunlight throughout the day. Ensure the mounting area remains unshaded by tall trees, nearby rooflines, or adjacent structures between 10:00 AM and 4:00 PM. Secure the panel using heavy-duty aluminum Z-brackets tilted at roughly 30 to 45 degrees, leaving a slight air gap between the panel and the roof shingles to prevent thermal degradation during hot summer afternoons.
Step 3: Route Cable Connections and Mount Light Fixtures
Drill a small entry hole high on the shed wall directly beneath the roofline to run the panel cable indoors. Insert a rubber weather grommet or apply exterior-grade silicone caulk around the opening to prevent moisture intrusion and protect the wire insulation from sharp edges. Inside, mount your LED light fixtures or overhead strip lights along rafters or wall studs where task lighting is needed most, securing all loose wiring cleanly along the timber framing with insulated cable clamps.
Step 4: Connect the Battery and Test Your Off-Grid System
If you are installing a multi-component kit, always connect the charge controller to your deep-cycle battery first; this allows the controller to auto-detect system voltage before receiving power. Once the battery connection is secure, attach the solar panel wiring to the designated input terminals on the charge controller. Flip the circuit breaker or master power switch, verify that the controller’s indicator light displays a active charging status, and test your interior light switches or motion sensors to confirm your off-grid system is running smoothly.
Frequently asked questions about solar energy for backyard sheds
How many watts of solar power do I need for my shed?
For basic overhead LED lighting used a few hours a week, a 10W to 20W standalone solar panel is sufficient. If you plan to run multiple light strips and regularly charge cordless power tool batteries, opt for a 100W to 200W panel setup paired with a 50Ah to 100Ah battery.
Can I run heavy power tools like table saws using off-grid solar?
Running high-draw power tools (1,500W+) requires a large battery bank and a heavy-duty inverter (at least 2,000W–3,000W continuous output). For most everyday workshops, solar is best used for lighting and charging tool batteries, while high-amp machinery is better suited for portable generators or grid connections.
Do solar panels work effectively during northern winter months?
Yes. Solar panels generate electricity from sunlight, not heat, and actually operate more efficiently in cooler temperatures. As long as you clear accumulated snow and debris from the panel face, your system will continue charging during clear winter days.
What type of battery is best for off-grid shed storage?
Lithium Iron Phosphate (LiFePO4) batteries are the top choice due to their long lifespan, light weight, and deep discharge capability. However, Sealed Lead-Acid (AGM) batteries remain a reliable budget-friendly option if you only require occasional night lighting.
How do I route cables into the shed without causing roof leaks?
Drill entry holes high on an exterior wall directly beneath the roofline rather than through the roof itself. Use a rubber weather-grommet or seal the entry hole thoroughly with exterior-grade silicone caulk to keep moisture out.
Do I need a permit to install solar lighting on my shed?
Most low-voltage DIY solar setups (under 50V) do not require building permits or electrical inspections. However, always check local municipal regulations or homeowner association (HOA) rules regarding panel visibility from the street.
How long do solar shed light batteries usually last?
Built-in lithium batteries in standalone lights typically last 2 to 4 years before losing capacity, while standalone LiFePO4 battery banks used in full solar kits can last 8 to 10+ years with proper charge management.
Can I mount a solar panel on an unshaded wall instead of the roof?
Yes. Wall mounting facing south (or equator-facing) works well, especially in northern regions where the sun stays lower on the horizon during winter. Wall mounting also prevents heavy snow accumulation on the panel face.
Will solar panels damage my shed's roof shingles?
No, provided you use proper mounting hardware. Installing standard aluminum Z-brackets secured into rafters with stainless steel screws and sealed with waterproofing caulk ensures a secure mount without compromising roof integrity.
What maintenance is required for a solar-powered shed setup?
Maintenance is minimal. Periodically wipe down the panel surface with a damp cloth to remove dust, pollen, or snow. Additionally, inspect terminal wire connections once a year to ensure everything remains tight and corrosion-free.